Post written by Laura
Lacing up your boots for a multi-day trek is incredibly exciting, but hitting the trail carrying all of your own kit requires a solid game plan. Fresh off our nine-stage hiking adventure from Lausanne to Châtillon, I want to share the practical blueprint that made our trip a success. From the targeted exercise and physical conditioning needed to prep your legs and core for heavy loads, to the strict packing rules that will save your shoulders, here is a comprehensive guide to preparing for an unforgettable long-distance hike.
Physical conditioning
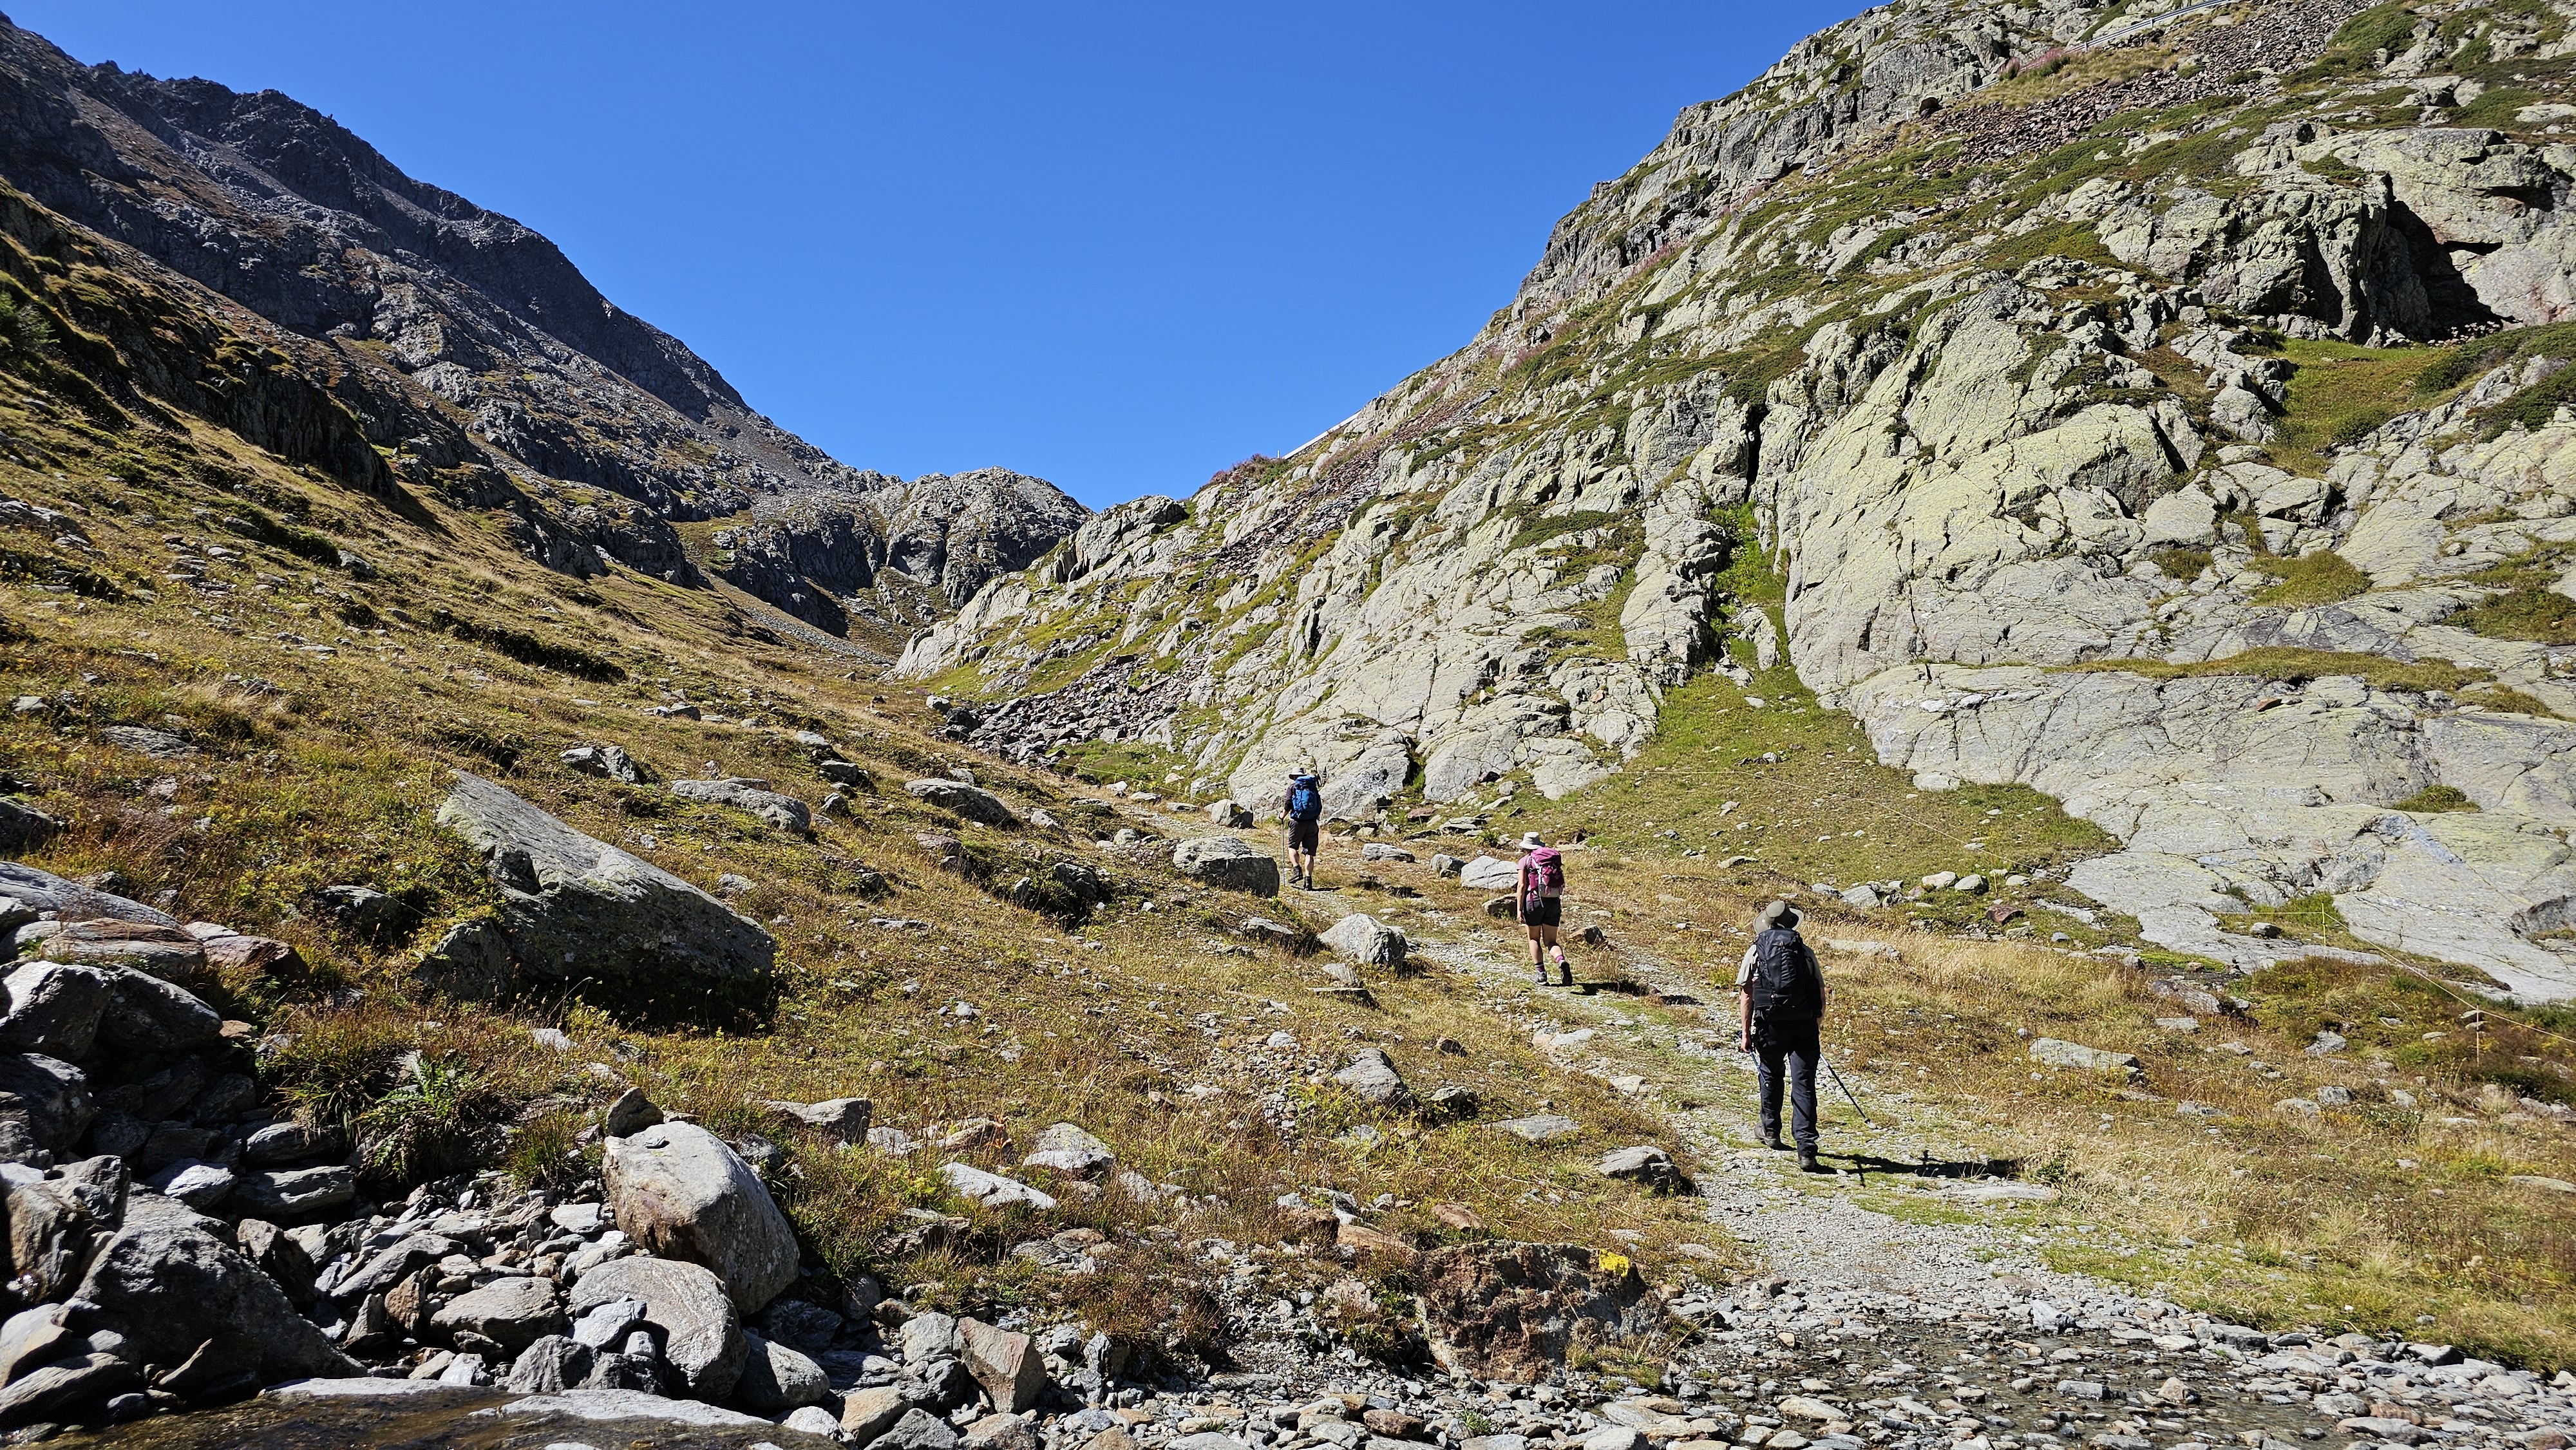
When you’re hauling a heavy pack up steep, uneven, and potentially slippery trails, investing time in your fitness pays off immensely. Personally, I know that even a small amount of extra body weight drastically impacts my ability to tackle steep climbs. To prepare for this trek, I focused on my nutrition—switching to a high-protein diet while cutting down on carbs, sugar, and alcohol. This lifestyle tweak helped me drop around 12 lbs (5.5 kg), making a big difference when it came to managing steep terrain.
Cardio and stamina
To build up our baseline cardio, I relied heavily on our home cross-trainer in the garage, usually hopping on most mornings before starting work. As the trip drew closer, Chris and I both stepped up our routines with extra sessions. Alongside my regular 6- to 11-mile hikes with a local walking group, we tackled a series of extra local trails together in the final weeks. It turned out to be a really pleasant routine, especially since we usually rewarded ourselves afterward with a cold drink in the garden of our local village pub!
Strength preparation
To make absolutely sure my shoulders and back could handle carrying a full pack for two consecutive weeks, I used a few creative training tricks at home:
- Simulated trail walks: I packed my new backpack with heavy books to simulate our real kit weight during local weekend hikes.
- Cross-trainer conditioning: I wore the weighted book pack during my morning cross-trainer workouts to build specific endurance.
- Stair conditioning: I walked up and down the stairs at home multiple times while fully loaded to mimic alpine elevation gains.
- Muscle building: I incorporated targeted weight training and squats to strengthen my quads and shoulders for the heavy load.
Balance
Good balance is essential for staying on your feet when the trail gets tough—whether you’re navigating narrow ledges, scaling mossy boulders, or crossing streams. To train my ankles and core, I incorporated easy balance exercises into my daily life. I practiced standing on just one leg for 30 seconds at a time, alternating sides, and even practiced balancing on one foot while bending down to tie my shoelaces!
Results
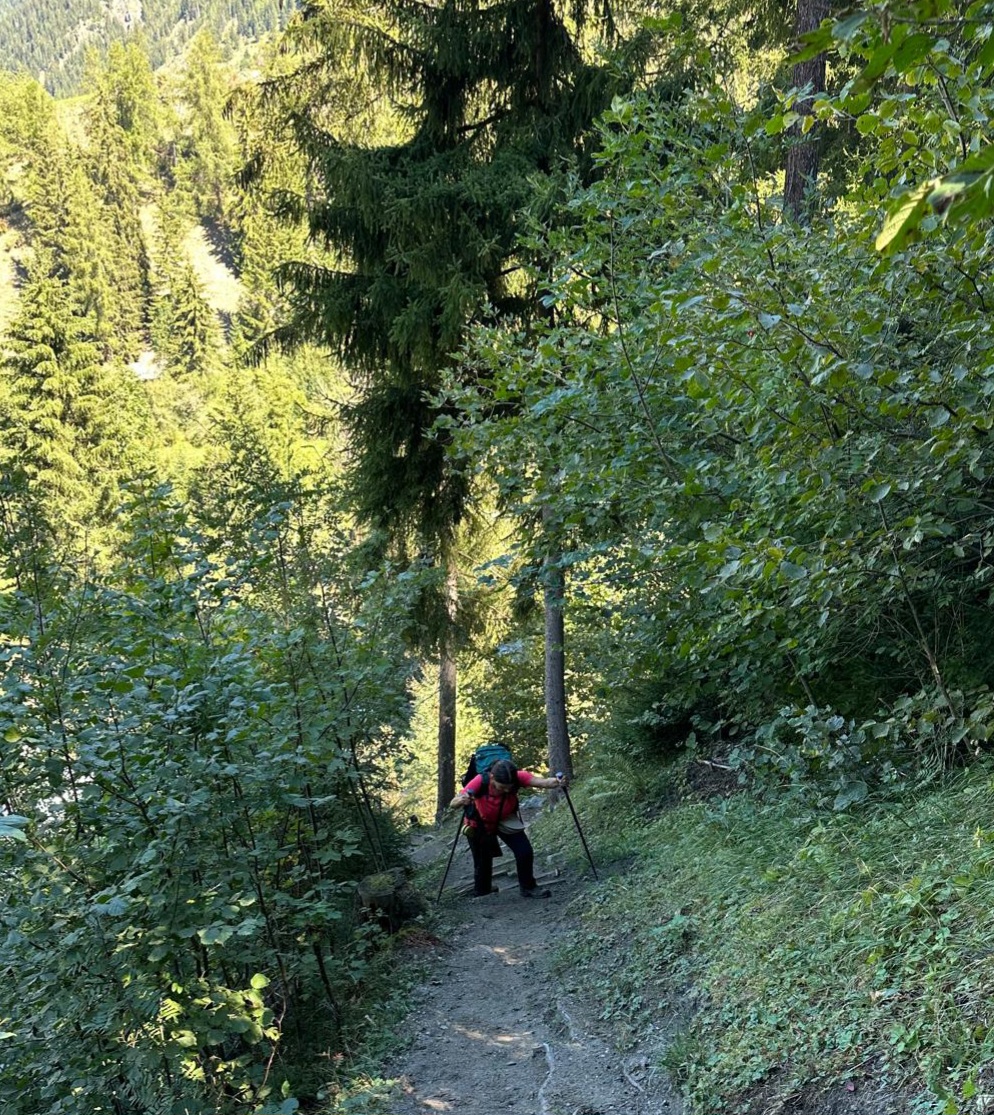
Pre-trip conditioning was a game-changer. Putting in the effort before setting foot in Switzerland to complete the trek into Italy paid massive dividends:
- Zero injuries or falls: The balance and strength work kept me upright on narrow, moss-covered paths.
- Effortless climbing: Shedding 12 lbs (5.5 kg) made tackling steep alpine elevation feel manageable.
- Comfortable carrying: My shoulders and quads easily handled the weight of my self-supported pack for two consecutive weeks.
Kit – now for some tips on our recommended equipment:
Backpack
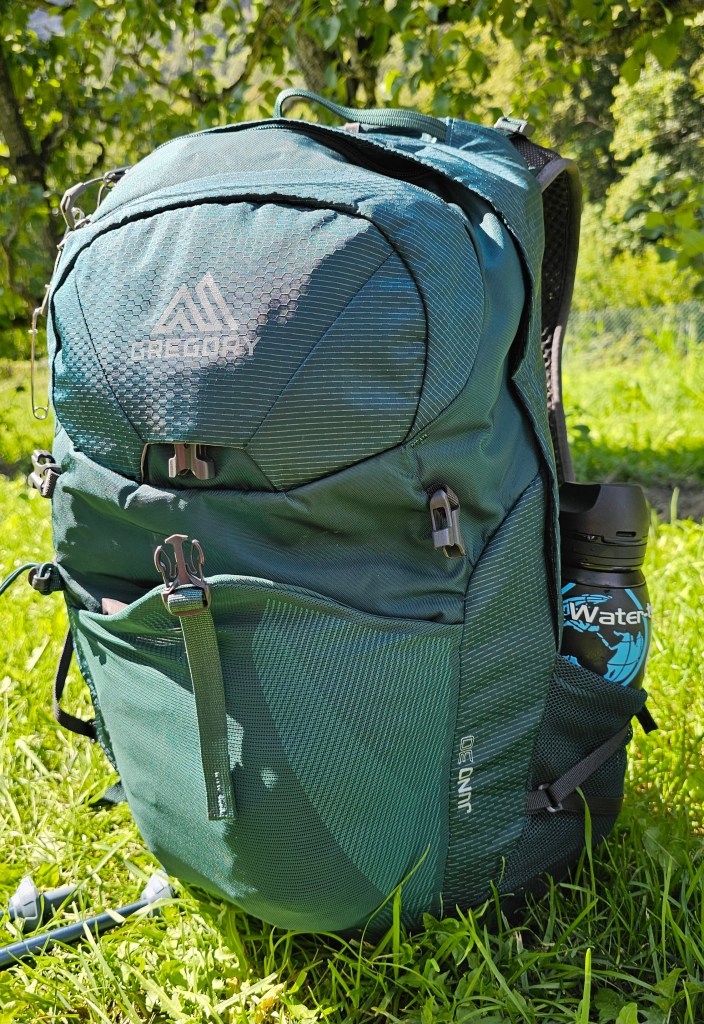
Chris and I both spent a considerable amount of time in researching our backpacks and we purchased new ones for the trip. Both of us settled on ‘Gregory’ packs, a high end brand made by Samsonite. Both of our packs are designed specifically for multi-day hikes and I selected mine as it met my criteria which included:
- Size: 30 litres with the right dimensions for EasyJet and Wizz Air cabin bags which also ensured I didn’t pack too much that I would have to carry around for 2 weeks
- Wide waist straps to enable my hips to take much of the weight away from my shoulders – with inbuilt zipped pockets
- Back air vent – moisture wicking vent mesh
- Deep water bottle side pockets – tilted so I can retrieve my water bottles while on the move
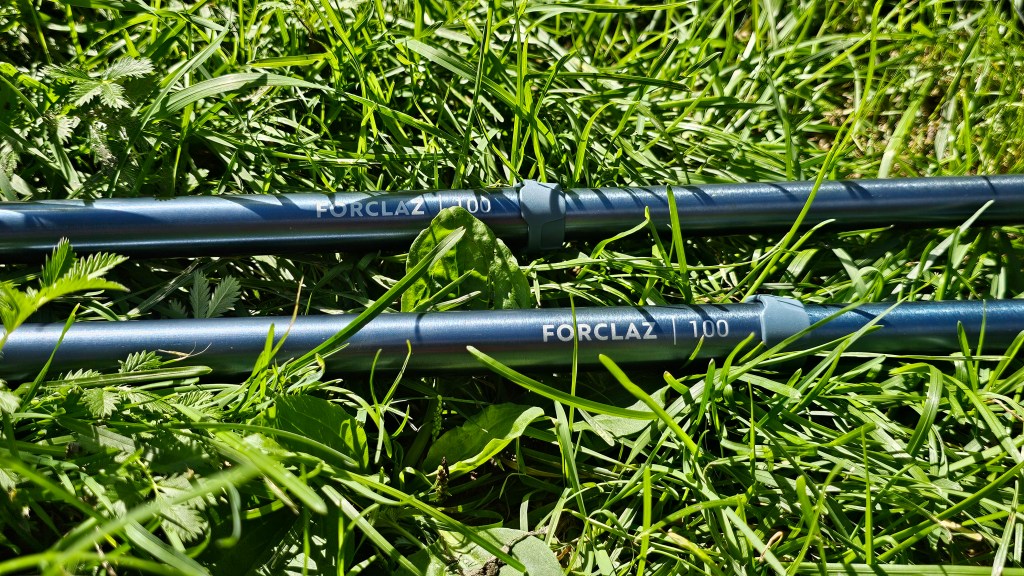
We purchased these budget poles (£14 per pair from Decathlon) during day 2 in Switzerland as, having paid for cabin luggage only, I didn’t want to risk my £100 Black Diamond poles being confiscated at either of the airports. Chris and I have rarely used walking poles however research suggested they would help prevent to prevent shoulder and knee strain and would reduce the impact on our feet, as well as assisting with balance over tricky sections.
Unfortunately, both sets of new poles were immediately confiscated at Turin airport on the way home. It was a shame to see them in the bin, as, for a small sum they were perfect! Strong and reliable throughout the trek.
Boots
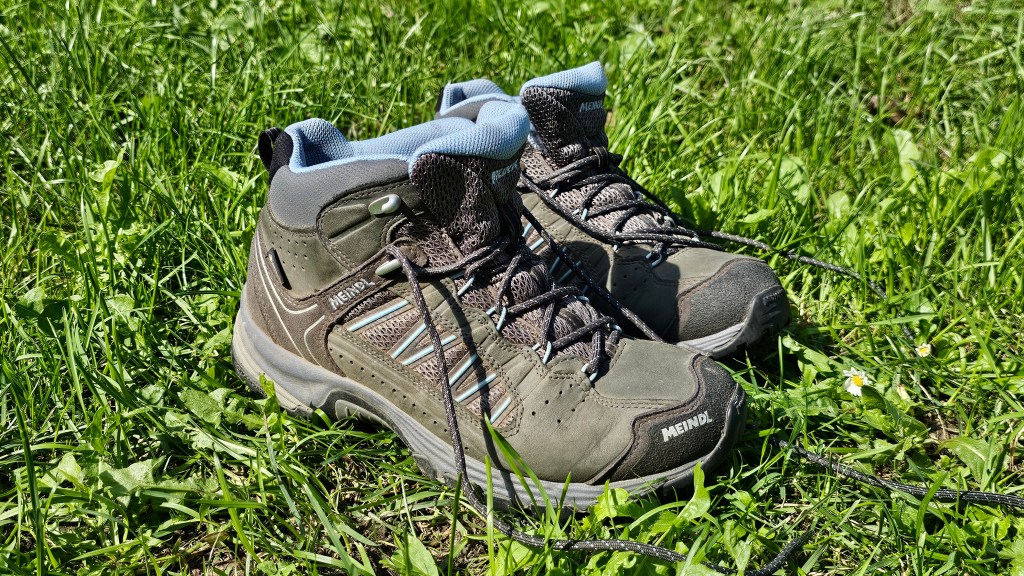
Like the backpack I took a long time to research my boots. I considered taking an existing pair, however on long hikes I am prone to several bad blisters so it was paramount for me to do what I could to prevent them. This therefore resulted in the investment of a new pair of hiking boots!
Acquired from our local Cotswold Outdoor, I found these Meindl mid-range boots which I purchased in a size larger than normal to accommodate thick socks and potentially swollen feet which often happens after long hikes in warm weather.
It is important to wear new boots in before undertaking such a multi-day trek so, having purchased them a few weeks in advance, I wore them in during our pre-trek training hikes. I did this until I had completed about 50 miles.
Socks
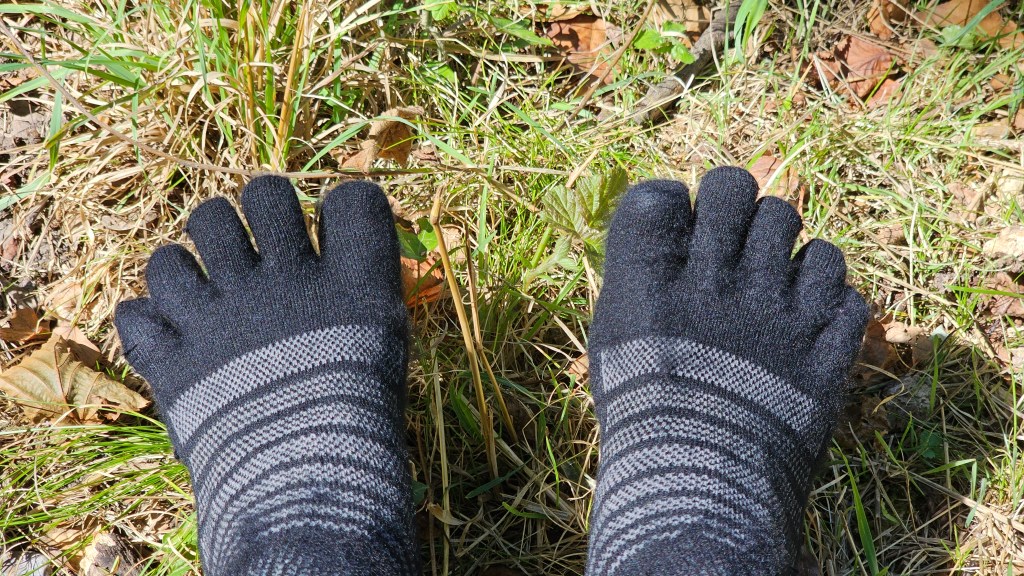
Nearly as important as the right boots you also need the right socks. As some of my blisters are usually caused by my toes rubbing together I came across toe socks!
The idea is that each toe fits snugly into its slot and doesn’t rub against its neighbour. I couldn’t decide between Kintoe brand or Injinji brand so I decided to buy some of each.
Kintoe are merino wool and designed to wear on their own however I also purchased Injinji liner socks, which you need to wear under thicker cushioned hiking socks.
During our multi-day trek, I wore the Kintoe socks for the hotter, flatter, longer walks for example at the beginning around Lake Geneva and the Injinji liner together with a pair of over socks for the cooler mountainous ascents and descents.
Blister prevention
In addition to suitable boots and socks you need to care properly for your feet. Keep your feet as dry as possible as blisters are more likely to form in damp conditions.
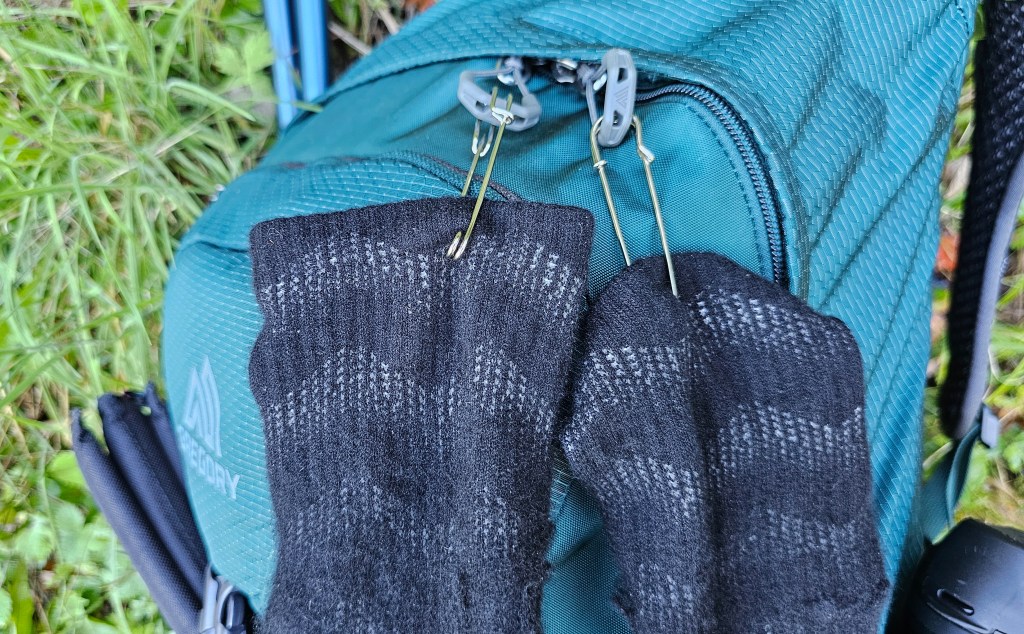
- Don’t put damp socks on in the morning. If they are not quite dry, wear a dry pair and pin the damp ones to your backpack (as shown above).
- During the trekking, remove your boots, and potentially your socks every couple of hours to air your feet.
- As mentioned, trekking poles help reduce the weight from your feet and metatarsals.
- Ensure you have some lightweight sandals to change into at the end of the day – this will help your feet to breath, give your boots a chance to air and also helps to prevent blisters
Tape
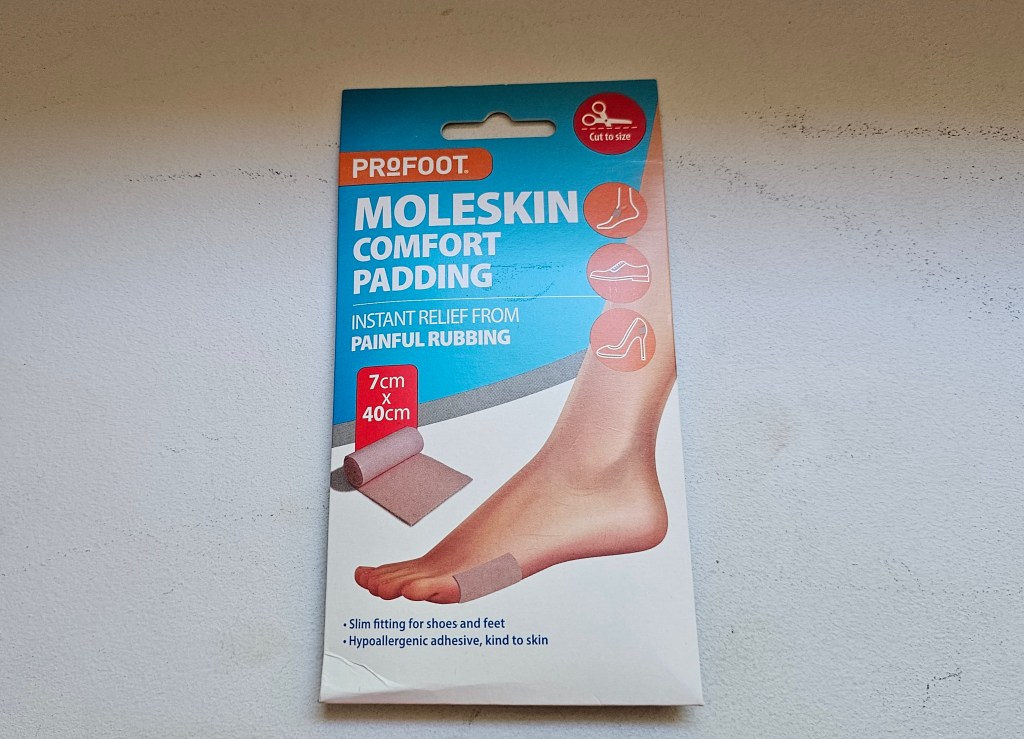
In advance of the long paved foot pounding walks I applied a strip of padded tape to the balls of my feet, another blister prone area. Each morning I cut these into circular shapes to ensure there were no corners to get caught up and exacerbate the problem.
Glide
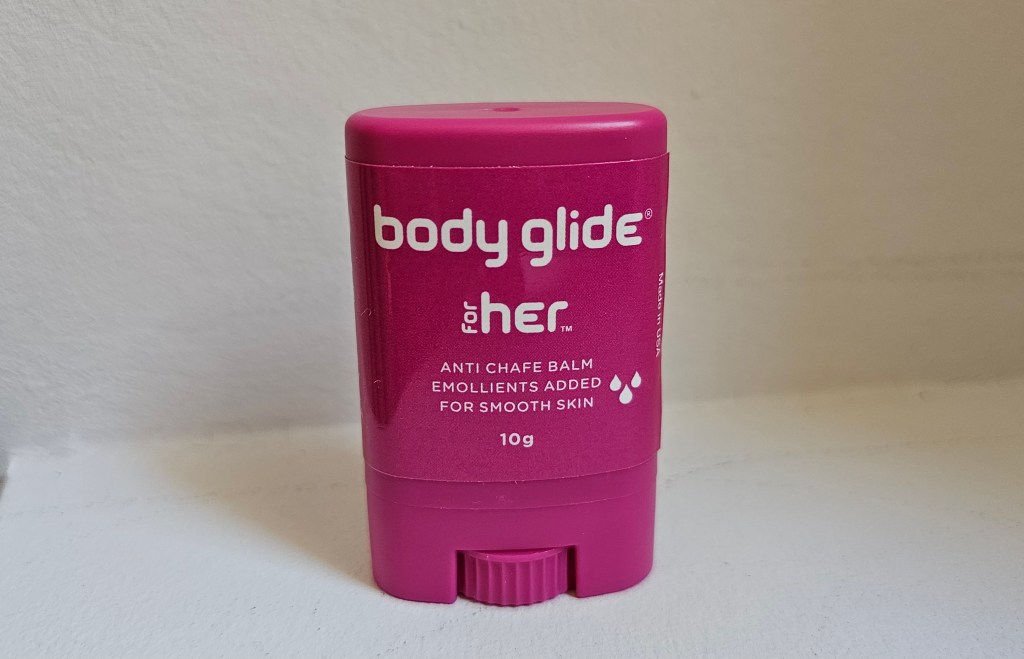
Finally, each morning I applied some glide anti-friction balm around the tape and between my blister prone toes.
Results
This anti-blister strategy of new boots, toe socks, foot tape and balm might sound excessive but for me it was 100% worth it! Having suffered extremely painful blisters on all of my past Via Francigena trip as well as the Spanish Camino, I have first hand experience of the agony they cause.
This time I had just one small blister on my left little toe on day 1. To begin with, I hadn’t put glide on this foot as my left one is usually less blister prone. I immediately applied a small compeed plaster which healed the blister within a couple of days.
The toe socks were brilliant, my new boots felt as comfortable as a pair of slippers and I was delighted to finally enjoy nearly two weeks of long, extensive and difficult hikes without the misery and pain of blisters 😃
Shirt
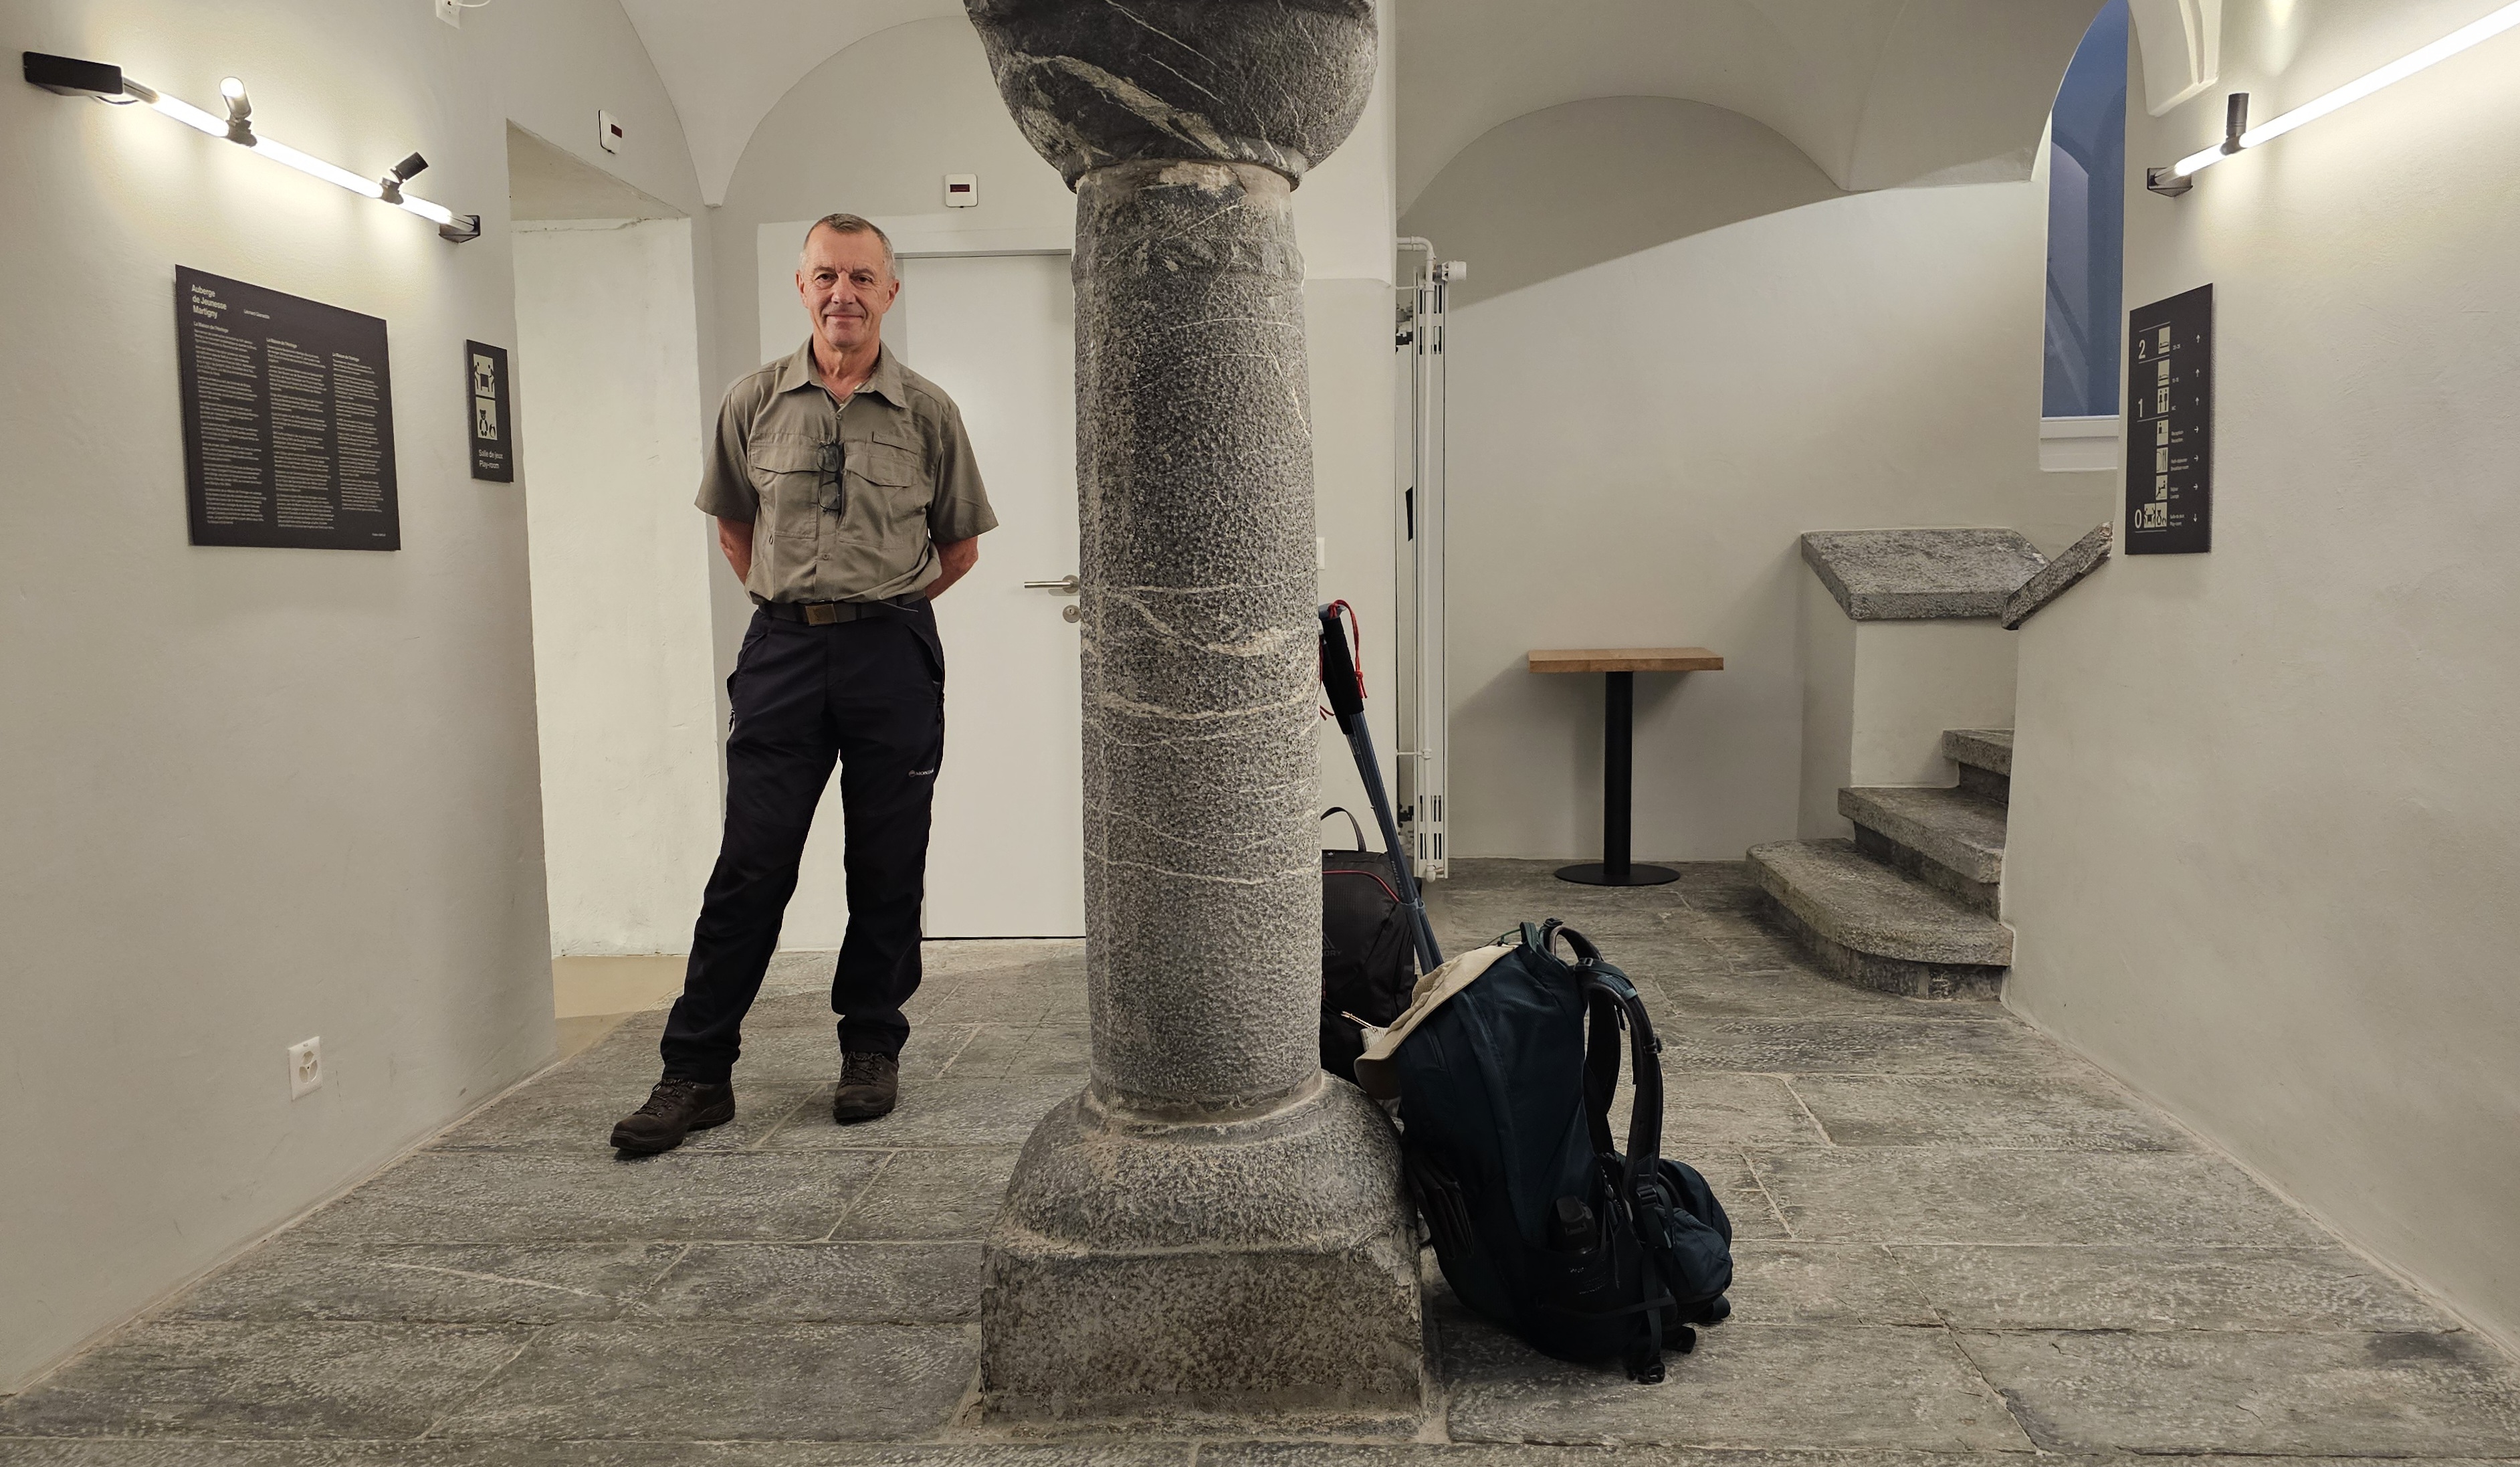
Chris made a smart addition to his kit by purchasing two new outdoor shirts to wear instead of everyday tee shirts. They were lightweight, breathable, water-resistant, and quick-drying, making them the perfect choice for consecutive days on the trail. He found the collars excellent for keeping the sun off his neck, and the handy selection of pockets—including a zipped one —got plenty of use throughout the hike. They were great for hand-washing each day and didn’t even crease!
Full kit list
Towards the end of a 20 odd mile trek you realise that every gram counts. And, trying to cram your food and snacks into the top of your pack each morning you appreciate that every cm of space also matters!
We found packing cubes to be helpful in containing related items together. A couple of days into the trek and we knew where everything was and could pack and unpack our stuff in a couple of minutes.
As a guide, your pack should weigh no more than 10% of your body weight, excluding water. To keep my pack as light yet as functional as possible (mine was about 5.5 kg) this is what I will take for a similar trip next time, depending on the country, season, anticipated weather and temperatures etc:
- Passport
- Credit cards and a small amount of local currency
- Mobile phone and charger
- Portable battery charger
- Plug adapter (Switzerland and Italy are different)
- Pilgrim passport – for collecting pilgrim stamps
- Pen
- Small guidebook
- Hiking boots
- Main backpack
- Small micro weightless backpack (handy for walking around Turin for example)
- Sunglasses
- Sunhat
- Packing cubes
- Filter water bottle – I’ve had my Water-to-Go for 9 years!
- ‘Normal’ water bottle
- Waterproof cape (backpack raincover not needed)
- Lightweight gaiters (to protect your boots in case of heavy rain)
- Lightweight sandals
- Thin micro fleece
- 2 pairs of lightweight walking trousers
- 3 lightweight teeshirts (or shirts for Chris)
- 2 pairs of Kintoe socks
- 2 pairs of Injinji liner socks
- 1 or 2 pairs of cushioned hiking socks
- Night ware and underwear as required
- 5 new large plastic freezer bags with pre-written labels for: sandals; snacks; rubbish; dirty clothes and spare. These were less bulky than, for example, my usual shoe and laundry bags and they squashed down to nothing when not in use.
- Small travel toothbrush (instead of bulkier electric toothbrush)
- Small toothpaste
- Travel soap – multi-use for washing and laundry
- Shampoo and conditioner
- Deodrant
- Mini travel hairbrush and hair ties
- Moisturising cream
- Sun cream
- Insect repellent
- First aid essentials, removed from their boxes
- Foot tape, foot balm and blister plasters
- A small amount of make-up
- Make up remover wipes
- Nail scissors and tweezers
- Ginger, peppermint and camomile tea bags (sometimes a kettle is available)
- Wet wipes and tissues
- Large safety pins
- Portable washing line
- Any personal medications
Optional:
- Rain jacket
- Waterproof trousers
- Backpack rain cover
- Merino wool base layer
- Gloves and beanie hat
- Travel towel (if staying in hostels)
- Swimwear
- Small padlock
- Bottle opener
- Seating mat
Summary
Completing a 208 km self-supported journey leaves you in good condition, and I’m determined to lock that fitness in. My garage cross-trainer routines feel effortless now, though I’ve had to adjust my portions since I’m no longer burning thousands of trail calories. Food is a massive source of enjoyment for me—as I’m sure regular readers have noticed—so it was wonderful to spend two weeks eating hearty lasagnes without a single worry or gaining any weight.

